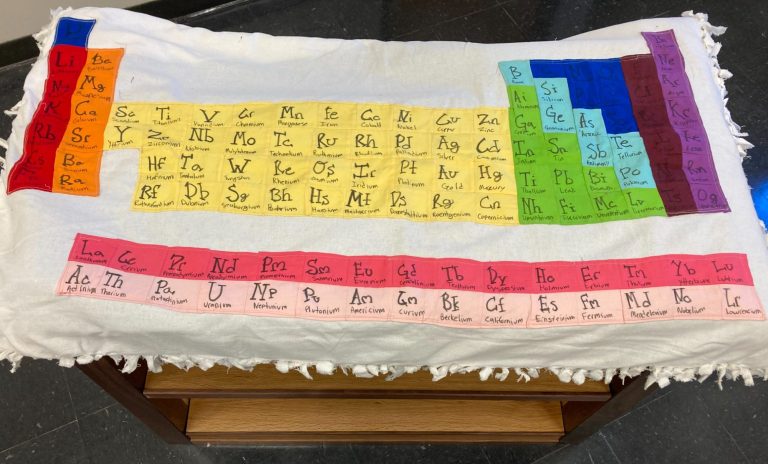
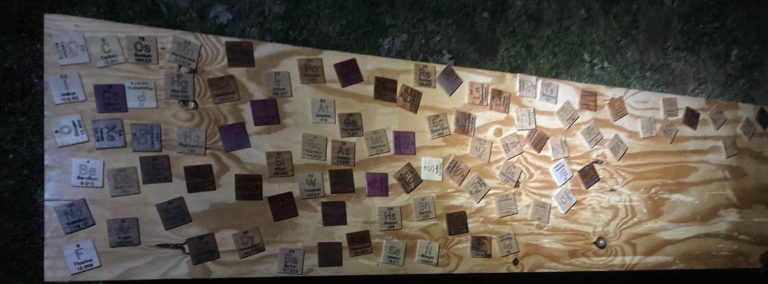
Years ago a student made me this quilt inspired by the periodic table. This was the perfect covering before the final reveal! The student reaction was outstanding and I would be glad to post the video if there is interest.
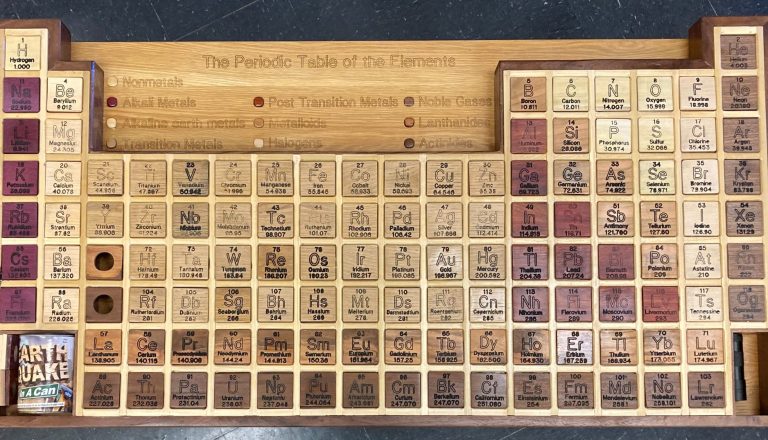
An interactive periodic table housing many different elements and giving students an up close view of the matter all around them.

The Elements of Box Making
- 10 Years of dreaming about this build
- 6 months to complete
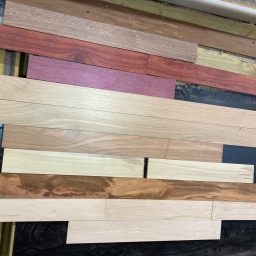
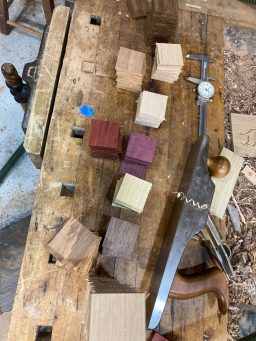
- 10 Species of wood represented by characteristics of each family of elements
- 118 engraved box lids
- 480 box sides
- Housing the physical building blocks of the world
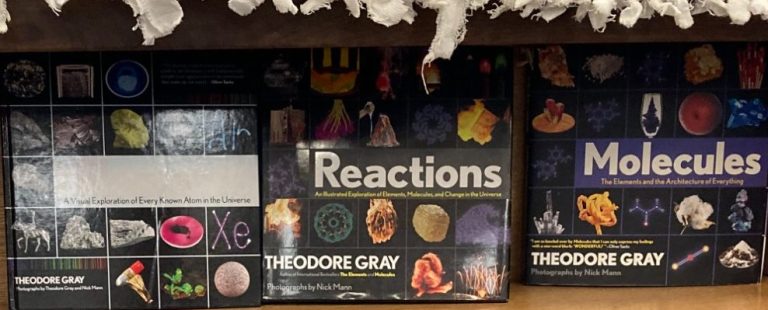
- Showcasing student chemistry comic books, picture books, biographies and more!
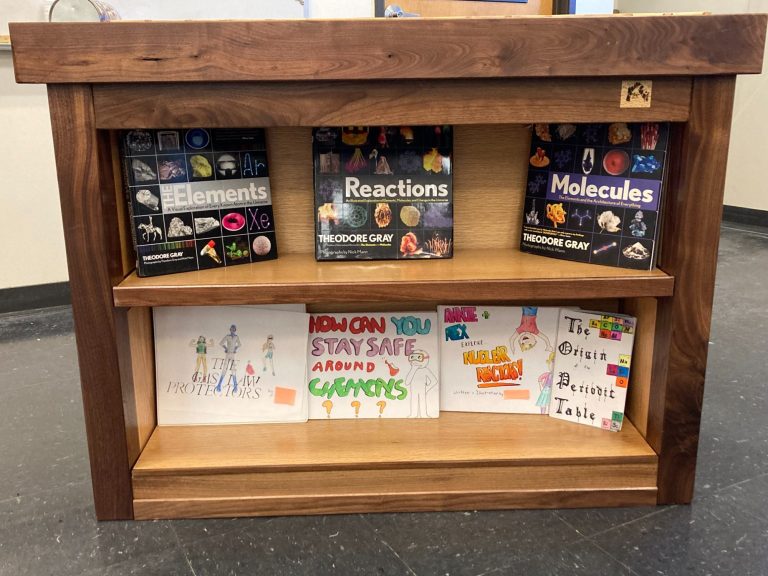
The dream for the bottom of the table was to showcase inspiring work from the past- both student work and professional and inspire future work to plumb mysteries of the world- both known and unknown. As the Proverbs say, "It is the glory of God to conceal things but the glory of kings is to search things out" (Proverbs 25:2).

How it was made
Keep scrolling for a behind the scenes look at this build
Background and Vision
Years ago I came across Theodore Gray who created his own periodic table which housed a number of the elements. When I showed my students a video of his table and asked if I should make something like that, they have always told me 'yes'! I lacked many of the materials he used, the time and routing templates he used and space to make one as large as he did. I also thought of a different way to make each of the boxes. When I received the Shaper Origin, this project made it one step closer to being possible.
The Properties of the Tiles
From repelling sharks to killing bacteria to so much more, matter around us is filled with fascinating properties! In fact, in Napoleon's France, aluminum was such a luxury that it was used in his estate dinners and cost considerably more than gold. Click on the button to the right to learn more!
Making the Tiles
The tiles were individually programmed into the Shaper Studio for Shaper Origin. Each tile featured a 1.975" square tile milled to 1/4" in thickness.
Tiles were engraved to 0.010" in depth.
Acrylic black paint filled to each engraving.
Tiles were sanded to 180 grit and finished with a catalyzed varnish.
Working late into the night to apply finish on the tiles.
To the left- a 2"x2" pocket with 1/4" corner and side reliefs was created to batch out each of the 118 tiles. It had some wiggle room to remove easily and was secured to the bottom with double sided tape.
To the right- an offcut from the inside spaces of the boxes served as a shim to elevate tiles for quick sanding with a random orbital sander.
The Grid
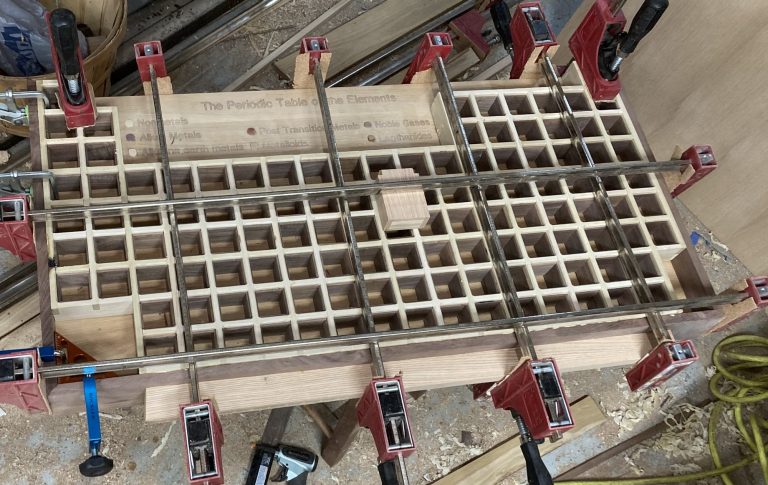
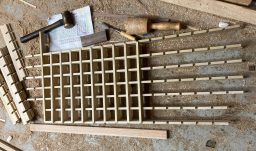
The grid was created using lap joints in 0.385" poplar. The Shaper Origin with Shaper Studio was used to design, cut and ensure precision to within thousandths of an inch on each box.

The box lids rested on walnut spacers inside of each grid. Here I am, 60 down, 420 to go!

After tracking down 11 walnut boards that were 2" wide or more, I proceeded to mill them all to 1/16" and trim them to 1 7/8" wide. They were trimmed at the bandsaw to size in bulk and then carefully fitted with Titebond II and CA glue. A bronze hammer provided any extra persuasion to fit the pieces.
The Table Top and Box Bottom
The bottom for the boxes and the top of the table was created using glued up 3/4" white oak boards.
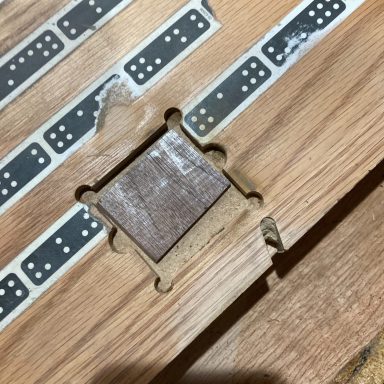
Inlays and engraving were designed with Shaper Studio. Engravings were filled with epoxy (West System slow cure) colored with battleship gray mica powder and applied carefully and quickly with a syringe.
Inlays were clamped in place with cauls and fixed with slow cure epoxy. Tropical hardwoods were first wiped first with acetone to allow proper adhesion with the epoxy.
Attaching the box grid to the box bottom
One of the challenges I wrestled with was how to secure the gridwork to the box bottom. Plywood would be great, but the veneer would likely be sanded through after sanding down the engravings. Putting individual rabbets in each box bottom would be possible but quite time consuming. Hardwood would be great but I would need to account for expansion and contraction.
I decided white oak was the best way to go to match the rest of the piece and to allow for expansion / contraction, I took a page from cabinet makers who make hardwood drawer bottoms. They trap three sides of the drawer bottom with the sides. I cut a groove and mitered three pieces of trim which were glued to the gridwork sides, but left the backside free to expand and contract. On the base of the piece I integrated grooves for hardwood buttons which would let the piece expand and contract freely while also securing it.
Test fitting the gridwork. Fit like a glove with Shaper Studio and Shaper Origin!
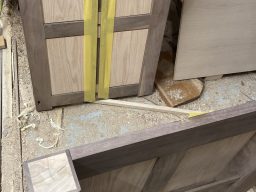
Top rails were created by making tenons on the Shaper Origin with AutoPass and fit perfect! Bottom rails were created with floating tenon joinery. Panels were 1/2" solid white oak with dadoed relief for expansion / contraction.
The Library
One feature that I couldn't finish this piece without was a display of my student's work. They put a tremendous amount of time and effort into their work and it needs a proper display.
Details of this can be found by clicking the button below while there are some pictures of the process- from multiple glue-ups, design and more.
Finish
All parts were sprayed with a catalyzed varnish (Armor Var 9938 by Woodwright) due to its durability and wear resistance with the type of contact it would experience. The bottom of the table legs were treated with West System Epoxy slow cure to provide superior protection for the legs from moisture and other damage.
Behind the scenes details
Like other projects I do, this featured many details not noticed that improve the durability of the overall build. Legs- to the right- were sealed with slow cure West System epoxy to prevent moisture intrusion and other damage to the piece.

We need your consent to load the translations
We use a third-party service to translate the website content that may collect data about your activity. Please review the details in the privacy policy and accept the service to view the translations.

